Data Uploader Window
The Data Uploader window is used to import all kinds of data into Calypso from XML files. It supports many trade types as well as reference data.
You can also use the Data Uploader engine or the scheduled task DATA_UPLOADER to import these data.
 Please refer to the Calypso Data Uploader Integration Guide for complete details.
Access Permissions
The Access Permission RunDataUploaderWindow must be configured, and users must also have access to the data they want to import.
The Access Permission ViewRFQSimulationWindow must be configured to view "RFQ" menu item under Datauploader > Utilities, if the user is not a admin user.
Please refer to Calypso Access Permissions documentation "Server Side Access Permissions" for complete details.
Data Authorization
The Data Uploader enforces data authorization for the objects defined in the domain “classServerAuthMode”, except for Is Admin users.
The data upload will be successful but there will be a warning message stating that there are Pending Modifications. The user needs access permission ViewPendingModifications to view the pending modifications. The user can then access the “Data Authorization” window to either accept or reject the pending modifications. Once accepted, the respective objects will be saved into the database.
Please refer to the Calypso Data Uploader Integration Guide for complete details.
1. Data Mapping
You can define data mapping between the imported data and the Calypso data using the Calypso Mapping window.
See Calypso Mapping Window for details.
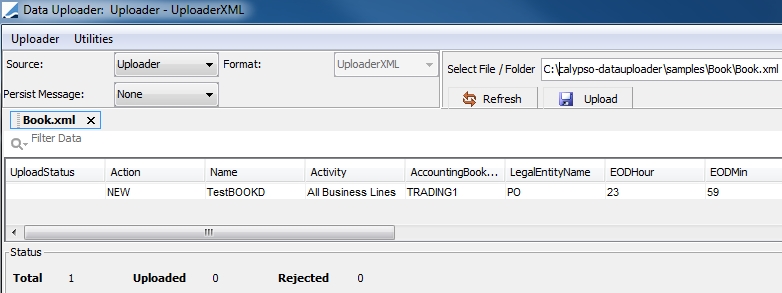
2. Using the Data Uploader Window
Navigate to the Data Uploader window using Processing > Tools > Data Uploader (menu action upload.DataUploaderFrame) from the Calypso Navigator.
Step 1 - Enter the fields described below:
Source and Format - Select a source. The following sources are supported by the Data Uploader:
| • | Calypso: FpML files. |
| • | DSMatch: DSMatch FX files. Please refer to the Calypso DS Match Integration Guide for file format. |
| • | Eurex: EurexAPIXML files. Please refer to the Calypso Eurex Integration Guide for file format. |
| • | ICELink: Credit Derivatives Affirmation Interface. Please refer to the Calypso ICE Link integration Guide for file format. |
| • | Uploader: Standardized Calypso Upload for XML files, also known as the Calypso Upload Document (CUD) format. |
The list of supported XML-format data can be found in “<calypso home>/docs/calypso-datauploader/Calypso DataUploader Coverage.xls”.
[NOTE: All features may not be covered for all data. Please review the formats and samples for supported features]
The folder “<calypso home>/docs/calypso-datauploader/format” contains a description of the format for all supported data.
The folder “<calypso home>/docs/calypso-datauploader/samples” contains sample import files for all supported data.
For importing trades and messages, you need to define workflows as described in the Calypso Data Uploader Integration Guide.
Persist Message - Only applies to the import of messages. you can select:
| • | None: No BO Message is created. |
| • | Failure: A BO Message is created only when there is a validation failure in saving the trade. Failed Messages can be reprocessed by applying REPROCESS action, which generates an event for the Update Manager Engine for reprocessing. |
| • | All: BO message is created for every external message. Failed Messages can be reprocessed by applying REPROCESS action, which generates an event for the Update Manager Engine for reprocessing. |
Please refer to the Calypso Data Uploader Integration Guide for information on setting up the Update Manager engine.
Select File / folder - Click ... to select the file you want to upload. The data contained in the file are displayed in a tab.
Step 2 - Select the data you want to upload and click Upload to import the data into Calypso.
Data successfully imported appear with a green background and rejected data appear with a red background. You can view details on the right-hand side.

Rejected data give details on the cause of the rejection.

You can click Refresh to reload the content of the file.
Converting an Uploader XML file to CSV
After uploading a file of source type Uploader in the Data Uploader window, you can choose Utilities > Export as CSV to convert the file to a CSV file. You will be prompted to enter a filename.