Calypso Mapping Window
The Calypso Mapping window allows mapping data for various interfaces by providing the interface values and the corresponding Calypso values.
The following access permissions apply to the Calypso Mapping window:
| • | ViewCalypsoMapping – Permission to view mappings. |
| • | ModifyCalypsoMapping – Permission to modify mappings. |
Navigate to the Calypso Mapping window using Processing > Tools > Calypso Mapping (menu action mapping.CalypsoMappingWindow) from the Calypso Navigator.

You can browse the interface names and data types, then select an interface value to view the corresponding Calypso value.
Users can search for various mapping results using the Search field.
Adding an Interface Value
Select an interface name and data type. Then enter the Interface Value and the Calypso Value, and click Add.
You can also remove interface values as needed.
Reverse Default
Calypso uses the table for reverse mapping values from Calypso to external interfaces (e.g. MarkitWire). In particular scenarios, multiple interface values can have the same Calypso value. To map the default interface value for a particular Calypso value, use the “Reverse Default” checkbox.
For example, for DayCount, the MarkitWire values ACT/365.FIXED and ACT/365.ISDA both have the Calypso value ACT/365. In the Markitwire Backloading process, the Calypso value is mapped to a single Markitwire value. To permit the user to choose one of these MarkitWire values as the default mapping, check the “Reverse Default” checkbox when mapping that value. With “Reverse Default” checked on the ACT/365.FIXED mapping, the BackLoading report for MarkitWire shows ACT/365.FIXED if the Calypso value is ACT/365.
Adding Interface Names
Click Configure Interfaces to add interface names.
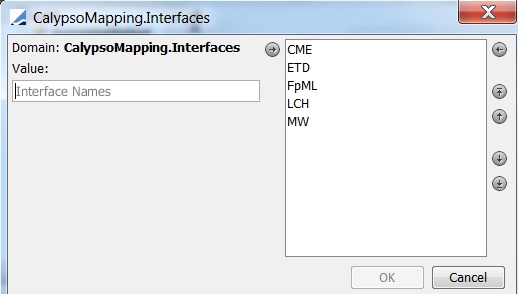
| » | Enter an interface name and click the right arrow. |
| » | Then click OK when you are done. |
Adding Data Types
Click Configure Types to add data types.
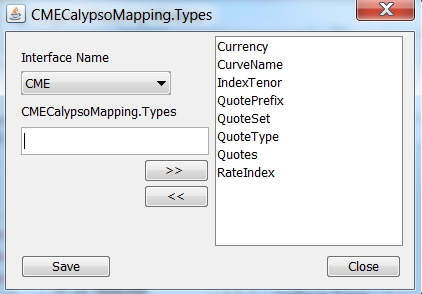
| » | Select an interface name and enter a data type. Then click the right arrow. |
| » | Click Save when you are done. |